Camping Photography 101
We All Take Pictures...
We all take pictures of our favorite people doing what they enjoy. Whether it’s our family, our friends or even our pets, they all make us feel good. Here at KZ we want to see those happy, funny and just plain relaxing images, and would love to share them with everyone who owns a KZ (and those considering owning one, too!) on our website. So send us your favorite camping photos with your camper in the shot and we’ll post it on the Vacation Planner. It can be an inside, outside or even traveling-down-life’s-highway shot. So pack up and go camping. We LOVE those photos!
How to Capture Camping Memories
You never want to forget great camping experiences like s’more-covered kids or the fish that didn’t get away. Make the most of your memories by preserving them with good quality photographs. Hint: Carry your camera with you... even when you don’t expect to use it.
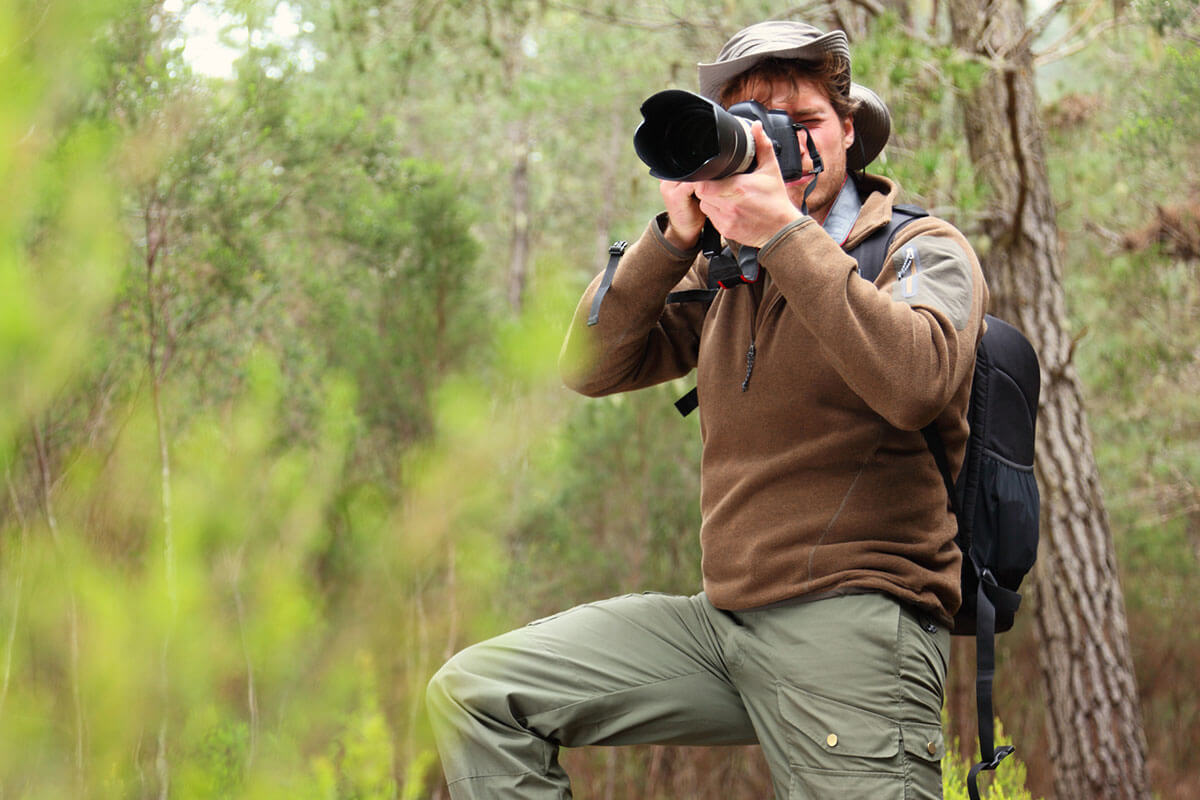
The Camera is the Foundation
Most of today’s cameras have fully-automatic features. Zoom models are especially popular; they allow good candid images taken from further away. With a zoom, you can focus on one smiling face or the whole gang. Hint: Be sure to include an extra memory card. You can always edit the images you don’t care to save when you get home.
When to Zoom
Non-zoom cameras are better in low-light situations, such as around the campfire. Why? Extra glass used in the zoom extension of the lens decreases the camera’s sensitivity to light, which lowers your effective flash range. If using a zoom camera in low light, don’t stand back and fill the frame by zooming. Get as close to the subject as possible so you’re less likely to exceed the flash range.
Using the Camera’s Flash Feature
When taking flash pictures, get close to your subjects – within 6 to 8 feet if possible. Note: the background may be dark, but the subject will be nicely lit with the flash. To light the background, (your RV, for example) move the subject (you) closer to your camper. Also, don’t be afraid to use your flash in the daylight. When there are heavy shadows on your subjects, the flash may improve that issue.
Get the Best Shot
If you want to see faces and smiles, get close. Many amateur photographers line up the shot and take a step backwards. Try lining everything up and taking a step forward just before you take the picture. Stop looking at the crosshairs and the individual people; look at what you see in the viewfinder or screen as being your picture. Also, take vertical AND horizontal photos. If you’re shooting vertically (top to bottom instead of left to right) hold the camera with the flash on top. Whether you’re using flash or not, light comes in from the camera’s point of view, not yours. Hint: Take plenty of pictures to get that perfect shot. You can always use the “delete” feature to edit out what you don’t like after the fact.
How Much Does it Cost?
You can get a good digital camera with base features for about $200. See your local camera store for the best advice before you buy. As with any good piece of equipment, the more your budget allows, the better your photos will be. Hint: The easier it is to quickly pull a camera out, point it and shoot, the easier it is to capture the moment.